"Siri, increase upstairs temperature by 3 degrees."
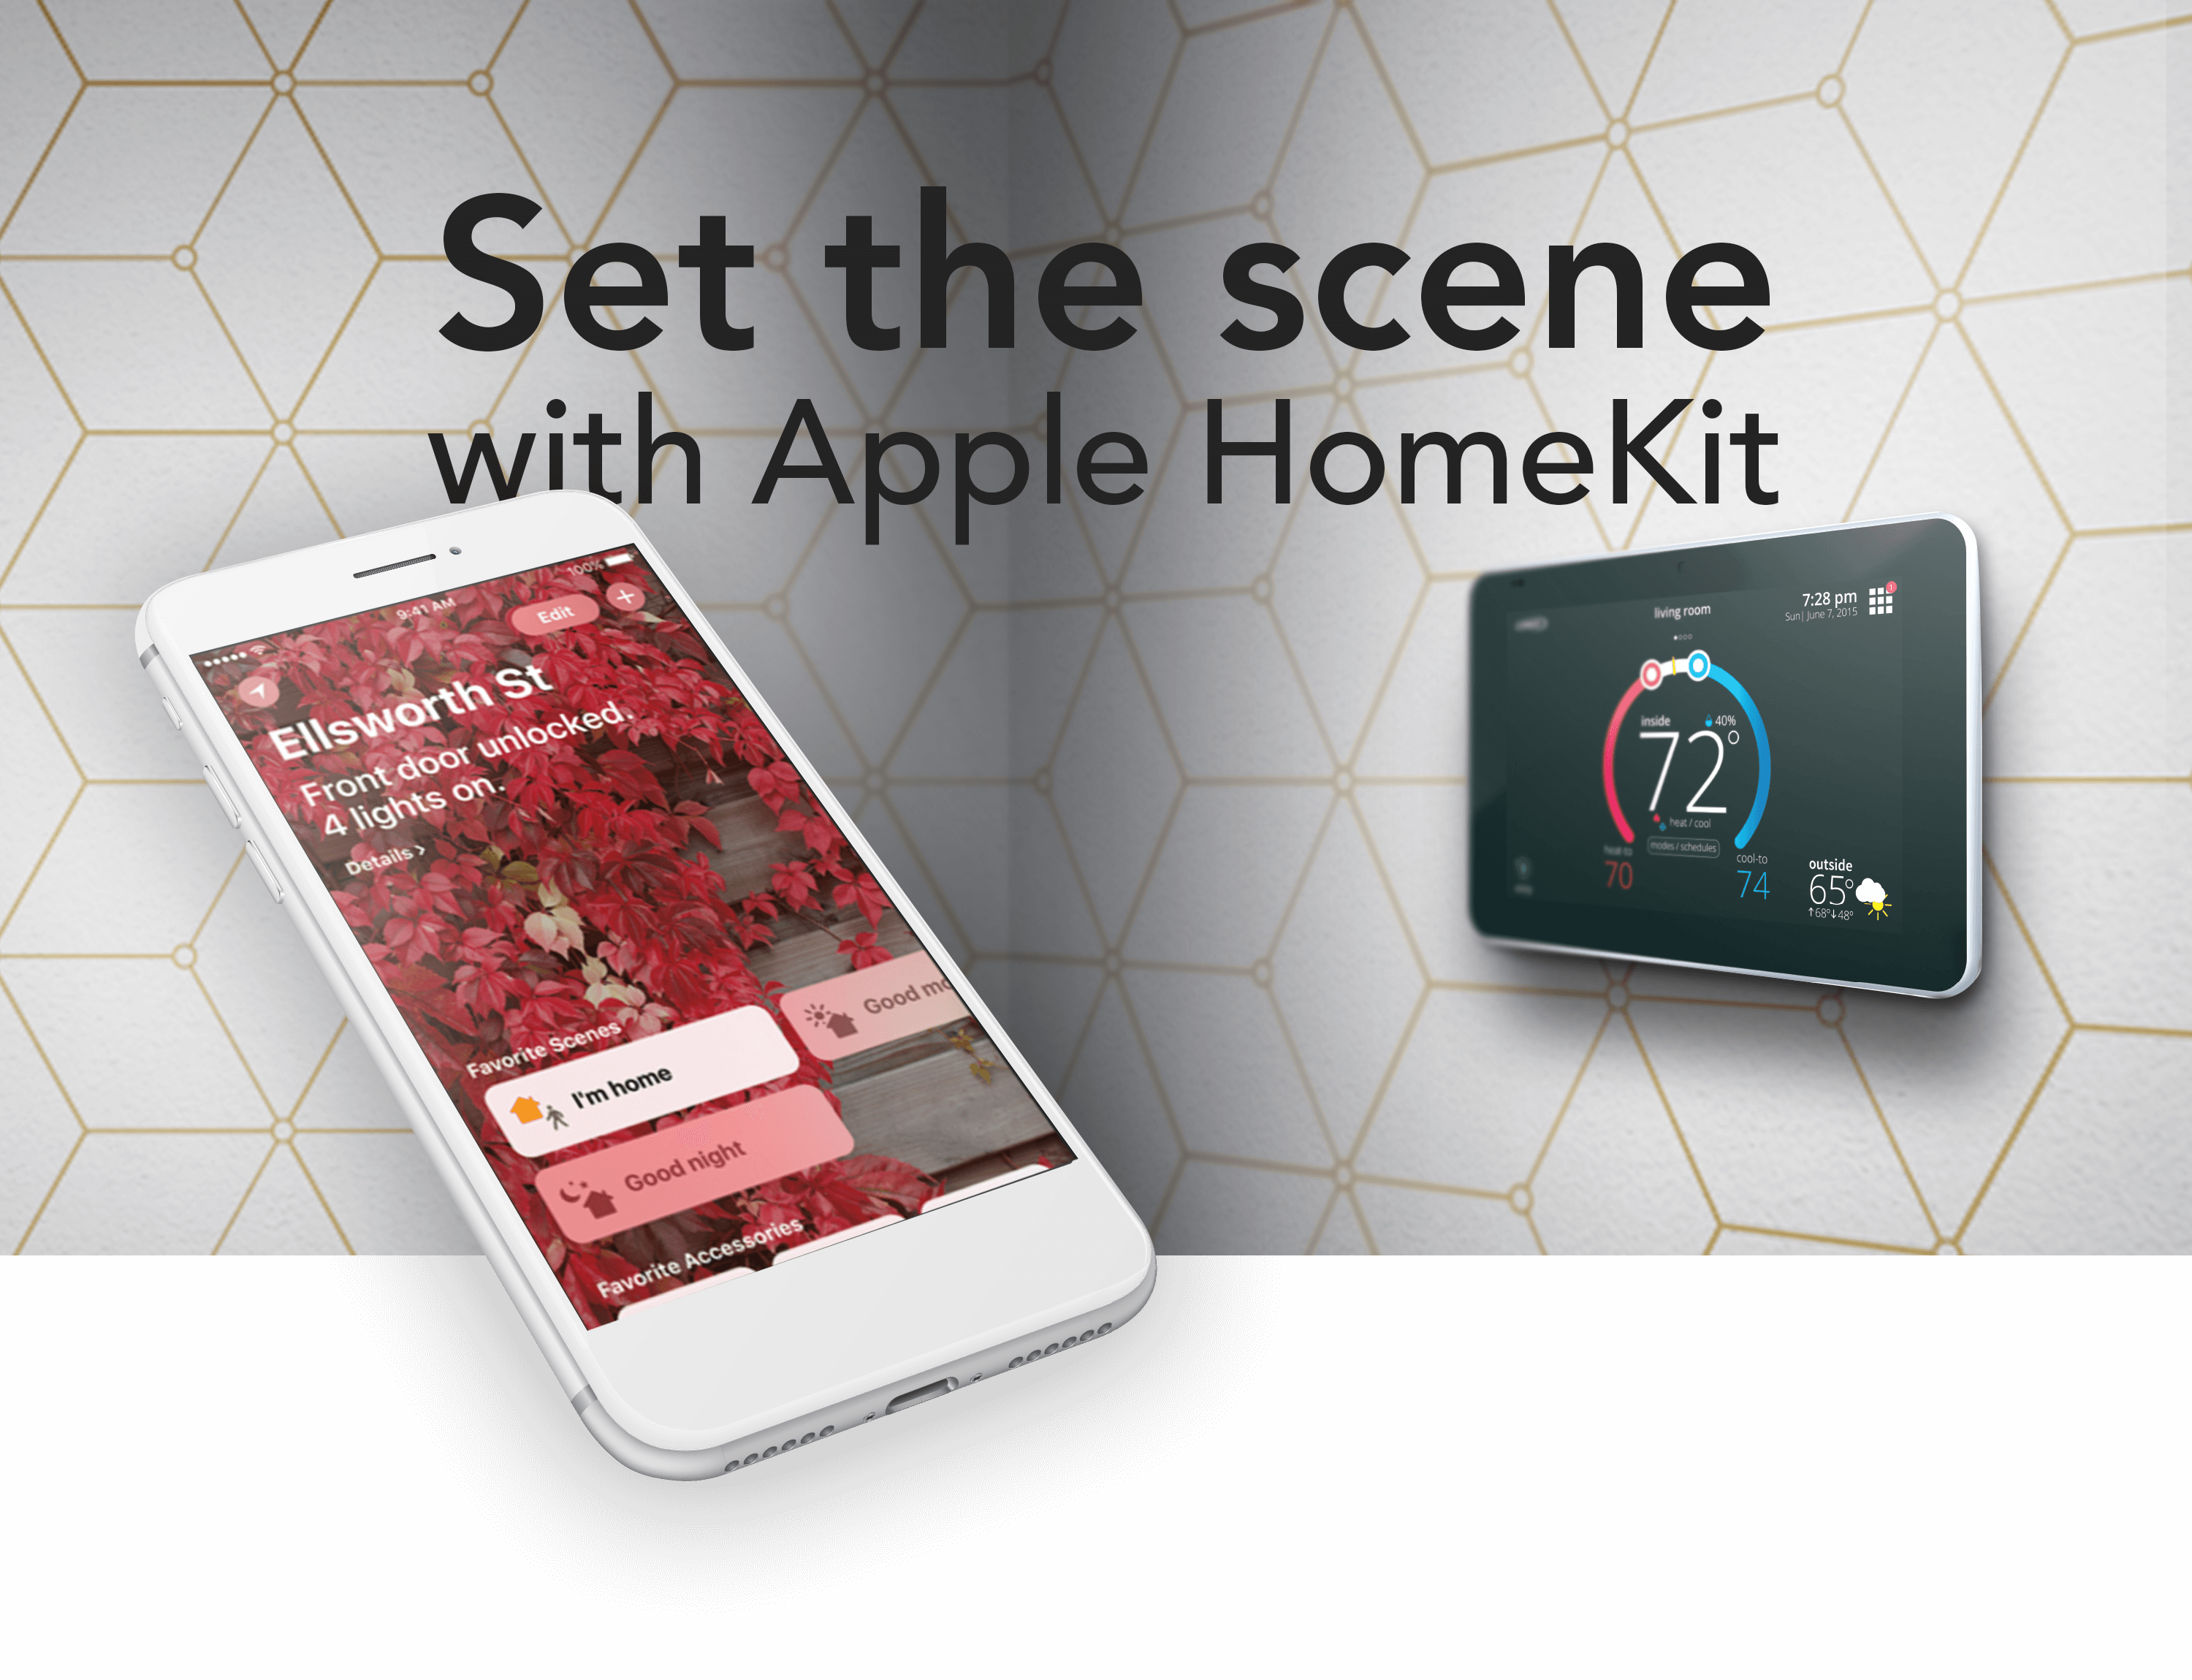
Apple HomeKitTM technology provides an easy, secure way to control your home's lights, doors, thermostats, and more from your iPhone, iPad, or Apple Watch. The iComfort® S30 and iComfort® E30 thermostats are now compatible with Apple HomeKit, allowing you to control your thermostat using the Apple Home App or the Lennox iComfort® Home Companion App.
Using the Apple Home App or the Lennox Home App you can:
Change iComfort® thermostat setpoints
Change iComfort® thermostat mode (heat , cool, auto or off)
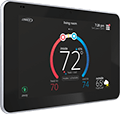
Check the current status of your iComfort® thermostat
You can also:
Control and automate your iComfort® thermostat using Scenes via the Apple Home App. Learn more
Use Siri voice commands to control your thermostat. Learn more
To Automate and Remotely access your HomeKit-enabled iComfort® thermostat away from home, you will need a home hub (HomePod / Apple TV / iPad). Learn more
Features
Voice control your temperature
"Siri, what is the temperature of (thermostat name)"
"Siri, set (thermostat name) to (75) degrees"
"Siri, increase (thermostat name) by (3) degrees"
"Siri, heat up (thermostat name)"
Get started
Step 1 of 5
Step 2 of 5
Step 3

Pair your iComfort® thermostat with Apple HomeKit
You can pair your iComfort® thermostat with Apple HomeKit using the Apple Home App or the Lennox Home App.- Within the Home app, go to your desired home and select "Add Accessory"
- If HomeKit Pairing Code does not show up on your iComfort® thermostat, select "Don't Have a Code" and then select your iComfort® accessory listed on next page.
- Now scan or enter the HomeKit Pairing code shown on your iComfort® thermostat.
- Continued...
Step 3 of 5
Step 4
Pair your iComfort® thermostat with Apple HomeKit
- After pairing is complete, you can now edit the name and assign a room for your iComfort® accessory. Then click "Done"
- You have now successfully paired your iComfort® thermostat to HomeKit!
- (If you've never set-up Homekit before or are having issues setting up the thermostat with Homekit,
please refer and pair the thermostat as directed in this Apple Support article.)
Step 4 of 5
Step 5 of 5
Resources
-
-
-

Apple Home App
-
Add accessories using Home App
-
Setup Home Hub and Automate for Remote access
-
Create scenes using Apple Home App
-
Siri to control your accessories
-
Invite People to share HomeKit-enabled accessories
-
Contact Apple Support for iCloud / Home hub / iOS device issues
-
-
Lennox iComfort® Products that work with HomeKit